Eight main-story stages that stop most new Doctors before chapter 4 — the map, the route and what actually kills you on each one.
1-5
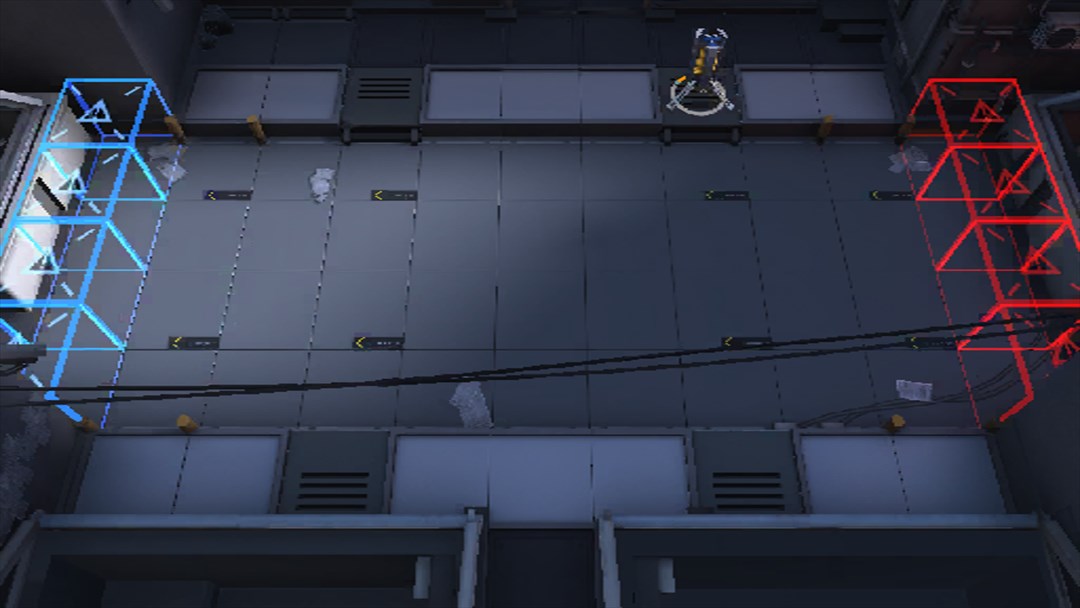
Four lanes at once
Open ground for the first time, with four lanes pushing at once. Nothing here hits hard — there is simply more of it than one or two blockers can hold.
How to clear it
Count blockers before you count damage. The waves overlap, so a single blocker per lane gets walked straight through.
If you have real firepower — your own or a borrowed support unit — clear each lane before the next one arrives.
If you don't, bring bodies instead of levels. Any operator you own can hold a lane here, including ones you have never levelled.
One medic standing between two lanes keeps both of them alive; you do not need healing on all four.
RecommendedHigh block defenders, one medic, or a borrowed heavy hitter
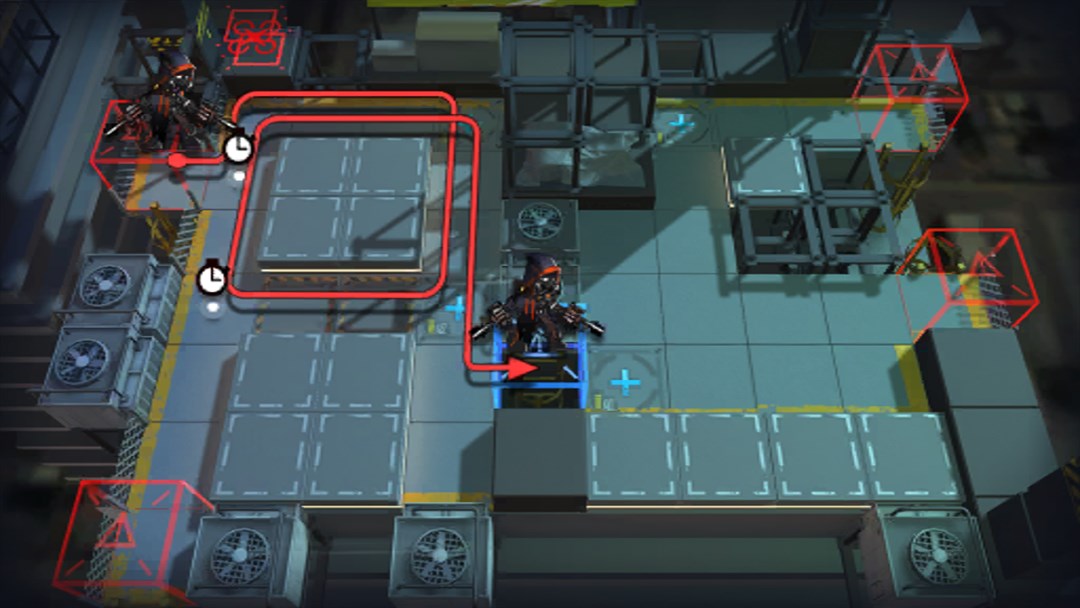
1-8
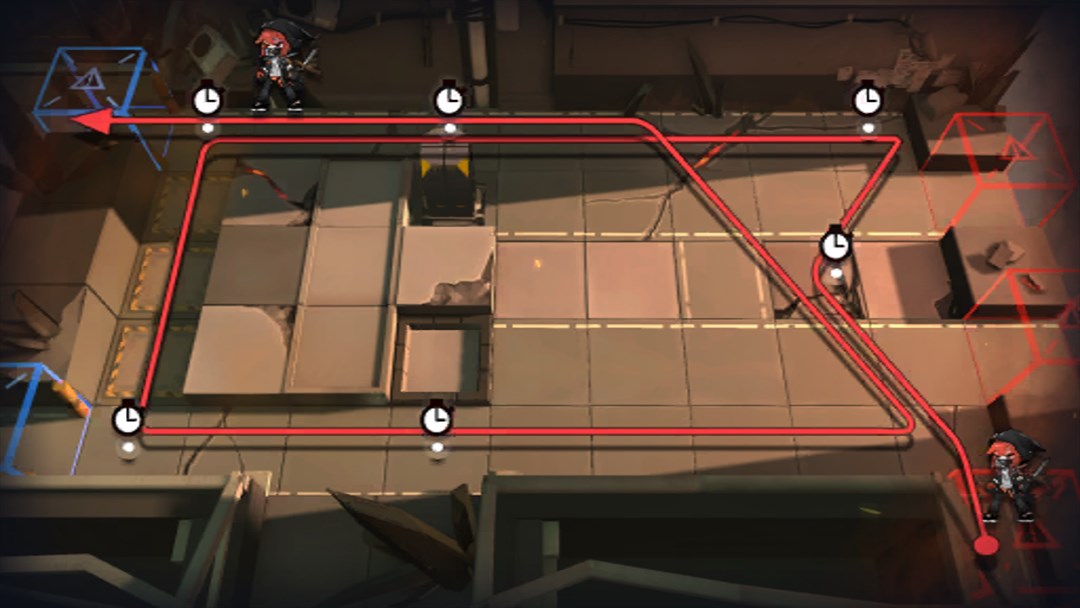
The boss that blinks past your blockers
After being blocked, the boss dashes about one tile forward — exactly enough to slip past a single defender. Its damage is also high for the point in the game where you meet it.
How to clear it
Run two blockers instead of one. The dash only clears a tile, so the second body catches it.
Learn the rest points. The boss stops at each marked point for a while instead of walking straight through.
The centre-top rest point sits beside an explosive device. Trigger it — the stun lasts long enough for level-1 operators to finish the boss.
Hold your skills for the stun window instead of firing into the dash.
RecommendedTwo defenders, one burst dealer, the map's explosive device
1-11
A squad you do not own
You are locked to the trial 3★ squad, so no single strong unit can carry this — and it is the boss's first appearance.
How to clear it
Read the skill first. After a delay the boss locks the nearest operator and detonates three seconds later; below half HP it locks three at once.
Both its attack range and its lock-on range are short. Distance is the defence here, not healing.
Put your damage on the bottom-left high ground with one medic beside it.
Place your sturdiest defender one tile to the lower-left of the right-hand non-deployable ledge. That body eats the lock-on, and the two trial 3★ defenders can heal through the blast.
RecommendedThe three trial 3★ operators — support units are disabled
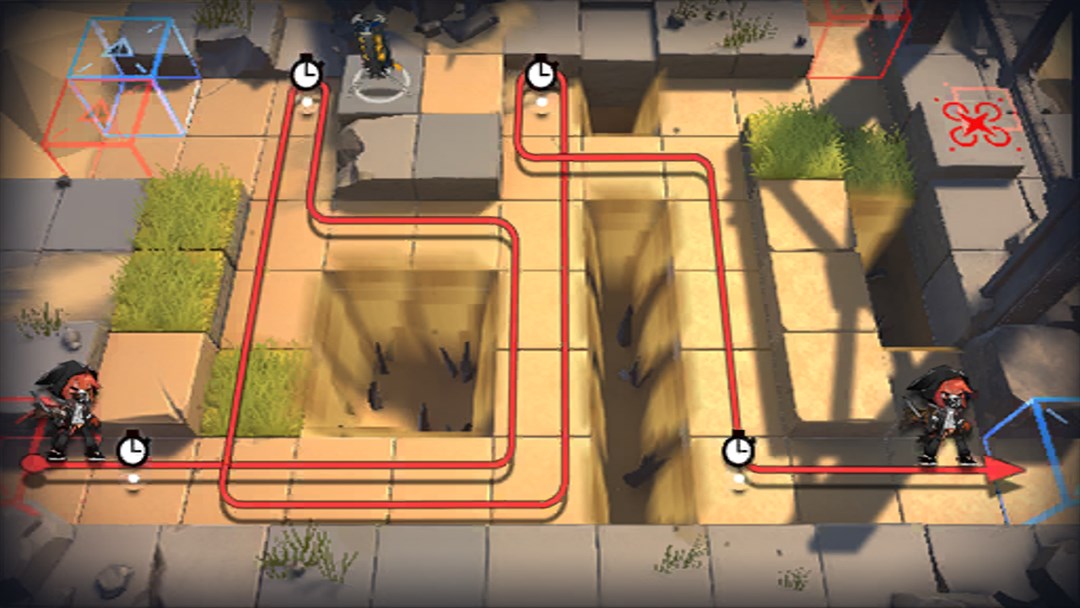
1-12
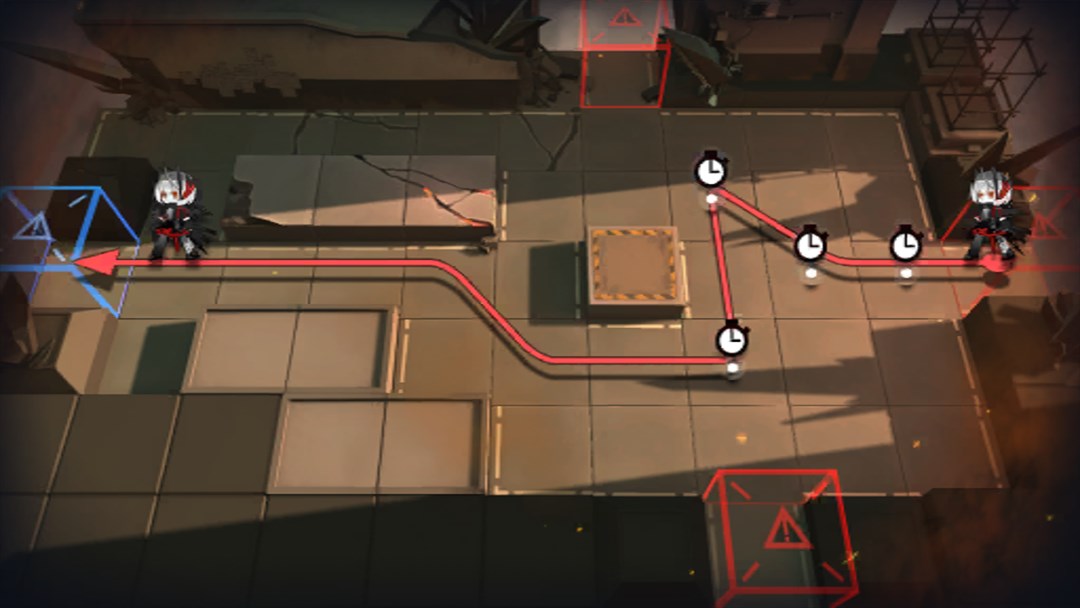
The boss goes underground
Same boss, worse map. It opens out of reach, then tunnels to a point deep behind your line — where its blast reaches everything you built.
How to clear it
Take the free damage early: a ranged operator on the far-right high ground for the first pass, one on the bottom-right high ground for the second rest point.
Do not crowd the bottom-left high ground. That is exactly where the tunnel comes out.
One sturdy 3★ defender plus a medic holds the boss in melee.
Then it is a grind, not a race: keep the healer alive and the boss dies.
RecommendedOne sturdy 3★ defender, one medic, two ranged dealers
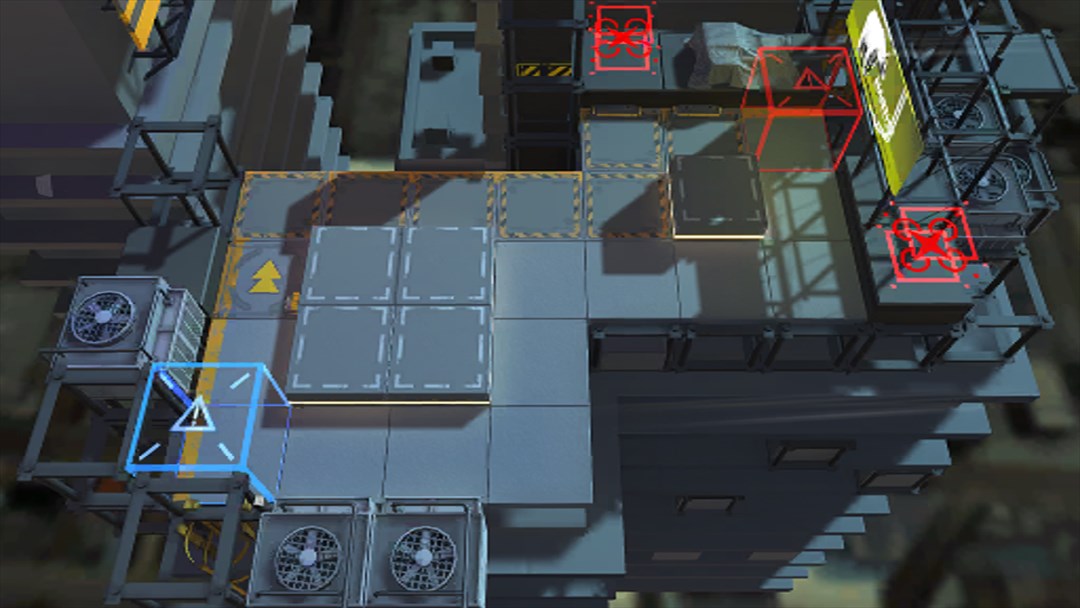
2-8
Air defence with nowhere to stand
Almost no high ground, and the stage still sends drones. The trap is that air units ignore the map's ground layout — they cross empty space, not just the corridor you can see.
How to clear it
Bring ground operators that can hit air. High-ground snipers alone will not cover this map.
Face some operators straight up and some straight right. Watching only the central corridor leaves the outer air lanes open.
Whatever high ground you do get should cover the widest arc, not the busiest one.
If a wave leaks, add a second anti-air body rather than more damage.
RecommendedGround anti-air operators, plus one ranged anti-air
2-10
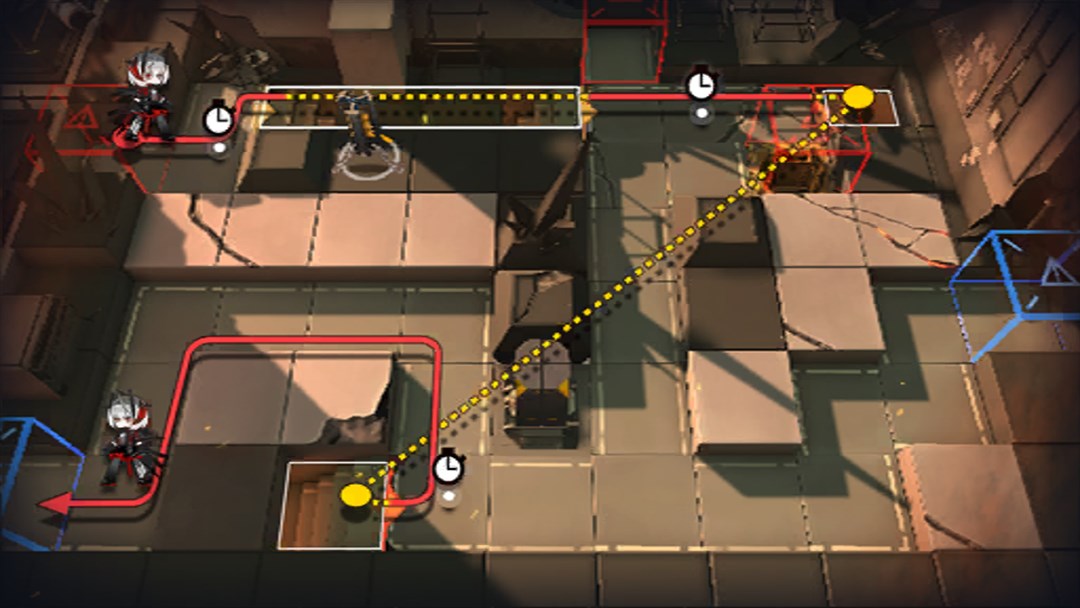
Two fronts, two forms
The boss switches between a ranged form that threatens your high ground and a melee form early defenders cannot survive. The right side attacks with casters at the same time, so this is really two maps.
How to clear it
Split the squad: the right side gets one damage dealer, one sturdy defender and one medic.
Stand that defender on the healing tile by the blue box — the free healing takes pressure off your medic.
The left side needs Arts damage. The armoured enemies there will not fall to physical hits.
Deploy damage on the lower high ground first, then the medic on the upper one.
Put a body beside — not on — the boss checkpoint. It soaks the ranged shells and keeps the boss out of melee range of your real line.
RecommendedOne Arts dealer, one sturdy defender, two medics
3-3
Invisible enemies
The boss is familiar by now; stealth is the problem. Invisible units are close to untouchable, and recon enemies strip the concealment from your operators standing in grass.
How to clear it
Do not spread out. Stealth is beaten by removing the routes, not by out-damaging it.
Push your defenders and medics right up to the red box and seal the entrance.
Put your damage behind that wall once the entrance is closed.
Blocking the spawn also cuts the long flanking paths that let invisible ranged units shoot your high ground from across the map.
Treat the grass as decoration: place operators for position, not for concealment.
RecommendedTwo defenders, two medics, ranged damage behind the wall
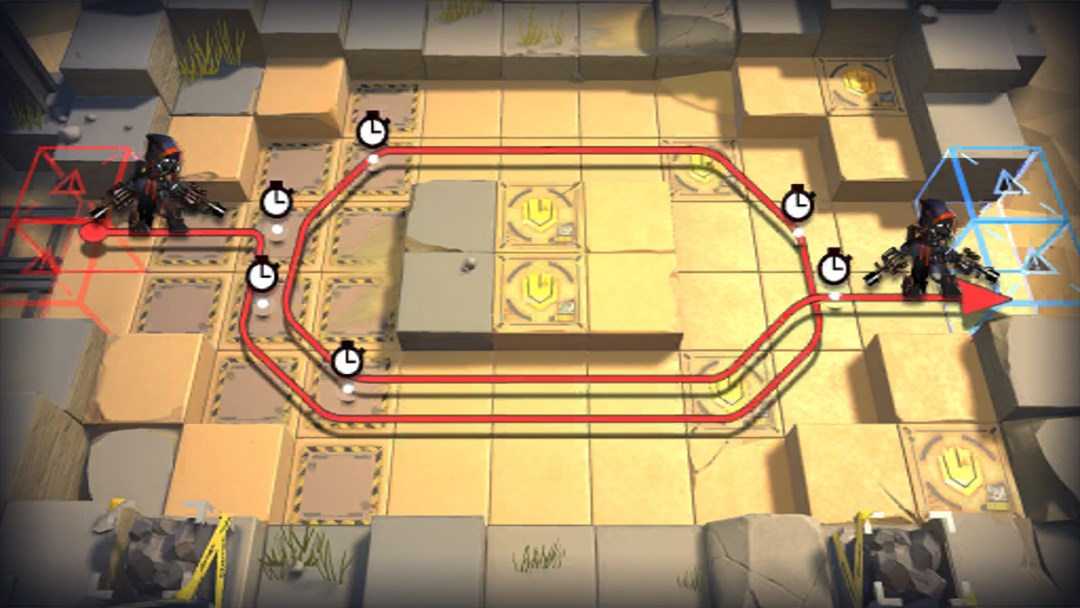
3-8
The same boss, a worse map
The 2-10 boss returns with adds and drones on top. If it completes a full lap your back line is already gone, so the fight has to end before the lap does.
How to clear it
Deploy a defender on the bottom-right defence-boosting tile early. That tile buff is what lets you survive the melee form.
Put medics on both the bottom-right and the centre high ground.
Let the boss come to that defender and tank it there; with the buff and two medics, it holds.
Once the boss is stuck in melee, ranged damage is free — it cannot reach your high ground.
Hold skills for the second half and burst it below 50% HP before the ground pressure builds up.
RecommendedOne defender for the defence tile, two medics, burst damage